Top Tips of Touch Ups
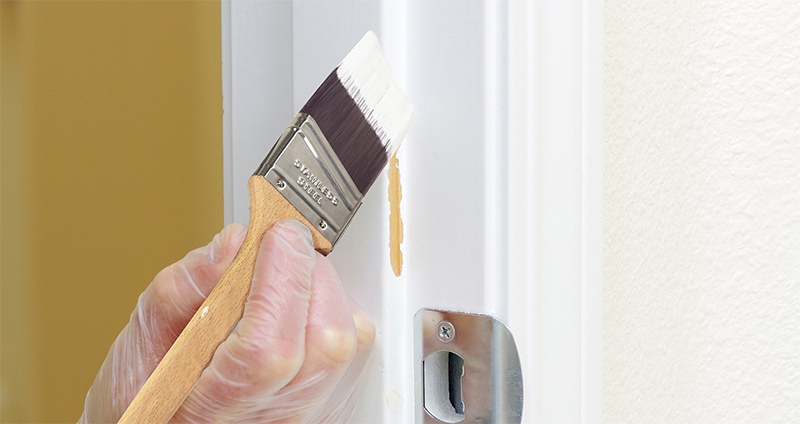
Touching up a coat of paint can be daunting. You don’t want unsightly touch-up blotches to detract from the intended look of your walls.
However, if you follow these helpful tips for touching up, it can help your painting project look new again.
Preparation is key
 Preparing the surface before you begin applying touch-up paint is just as important as preparing at the beginning of the job. First, you should make sure the surface is clean. Remove dirt and dust by cleaning with water and a soft, clean, white cloth. You can also use the same cloth and water to remove marks from the surface. If water alone doesn’t easily remove the mark, try adding a mild detergent. If the mark is still present, you will have to cover it with a stain-blocking primer, such as Diamond Vogel’s Sure Grip Interior/Exterior Acrylic Latex Primer. Avoid using abrasive cleaning tools, such as paper towels and dry rags. These tools can burnish the painted surface (removing some of the pigment) and make touching-up the area more difficult.
Fill in holes, dents, or scratches that have happened since you painted with a quick drying, patching compound. Apply the patching compound with a putty knife, trying to minimize the area you disturb. After the compound has completely dried, sand with 220-grit sandpaper to level and smooth. The patching compound should be primed before applying the touch-up paint; this is an important and frequently skipped step. The primer will help keep the patch from “telegraphing” through the finish paint and assist with full color and sheen development.
Limit Environmental Variables
 The fundamental principle of a successful touch-up is limiting variables from the original application. Start by making sure the temperature is similar to when you originally applied the paint. It is best if you apply the touch-up within five degrees of the original application temperature. If your initial application was by brush, use a similar brush for the touch-up, or if you used a roller at the start, touch-up by using a roller with the same size nap.
If you began your painting project by using an airless sprayer, touching up offers additional challenges. Many find it easier to touch-up if they immediately back-roll the sprayed surface, creating a slight texture. This allows the surface to be touched-up successfully with careful rolling. It has also been found that pre-conditioning the touch-up paint by spraying it into a five-gallon bucket greatly improves touching-up a sprayed surface. Protect yourself while pre-conditioning paint by following all the safety rules of the spray equipment manufacturer. Wear eye, skin, and breathing protection, and cover as much of the area around the pail as possible with a heavy drop cloth while spraying the paint.
An important variable to minimize is the paint. If possible, use paint leftover from the initial job. Start by protecting the leftover paint by storing it properly in a clean, dry, temperature-controlled area. Make sure the paint lid is tightly closed, and store the can upside down to minimize the amount of air allowed to reach the paint.
If you don’t have the original paint, new paint can also be an option, but due to small variations from one batch to another, the new paint may differ in color or sheen, making it noticeable when used as touch-up. Frequently, it is easier to re-paint the area from corner to corner if the touch-up isn’t matching well.
By limiting changes from the original project, you will keep touch-ups looking uniform and natural.
Still have questions? We’re here to help.
If you’re having trouble with a touch-up project or just need some expert advice about your painting project, ask your nearest Diamond Vogel Paint Store for assistance. We have the outstanding paint and tools that’ll make your project look great, as well as the expertise and friendly service to make it easy.


